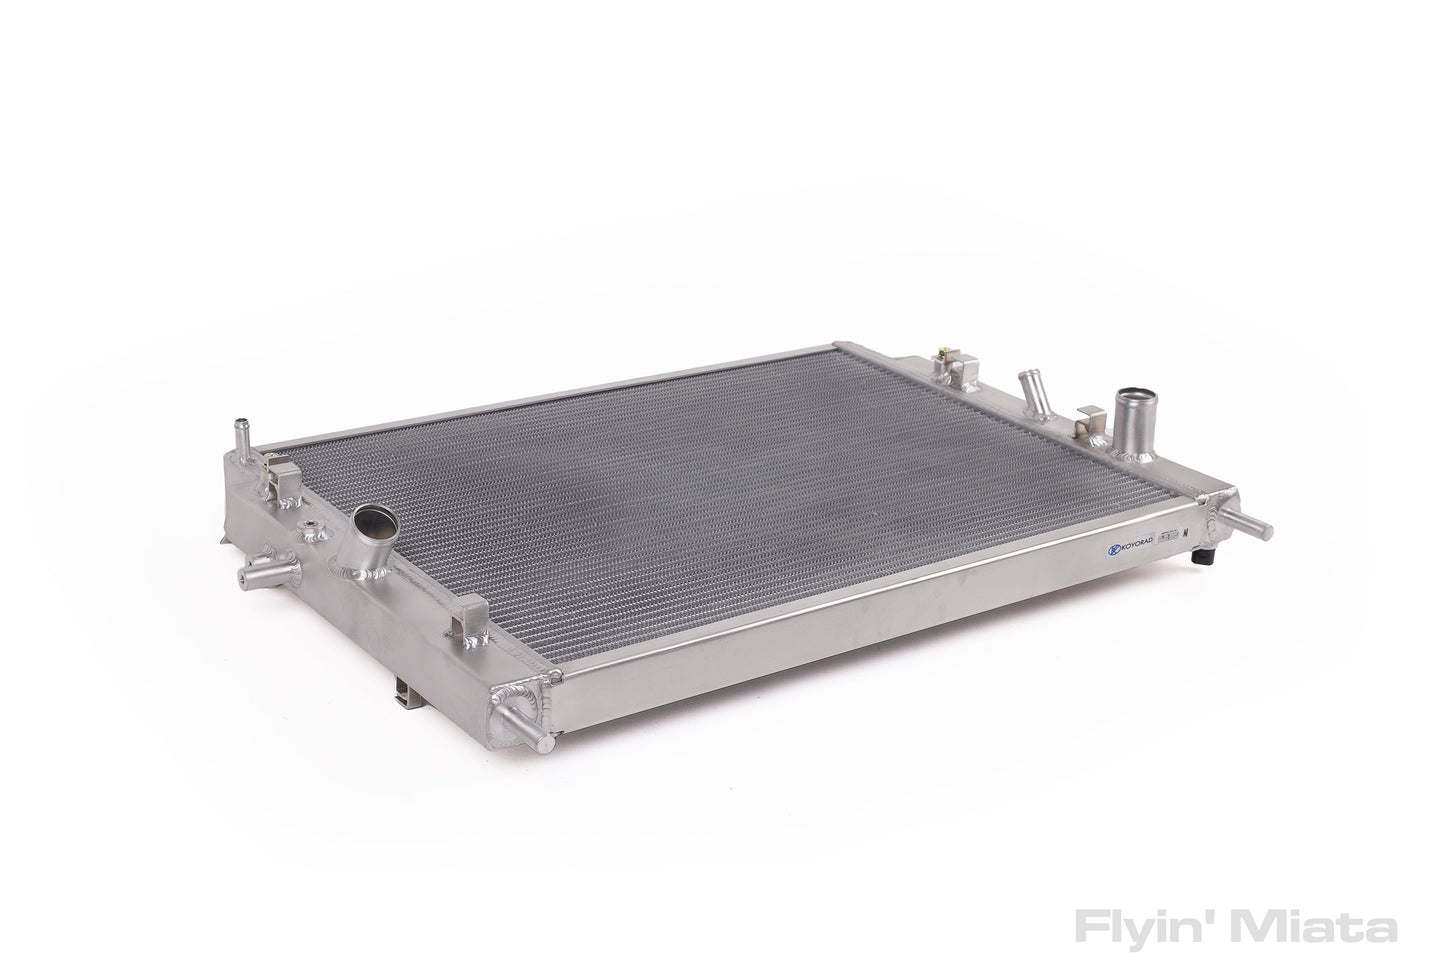
NC aluminum race radiator
Couldn't load pickup availability

Collapsible content
Description
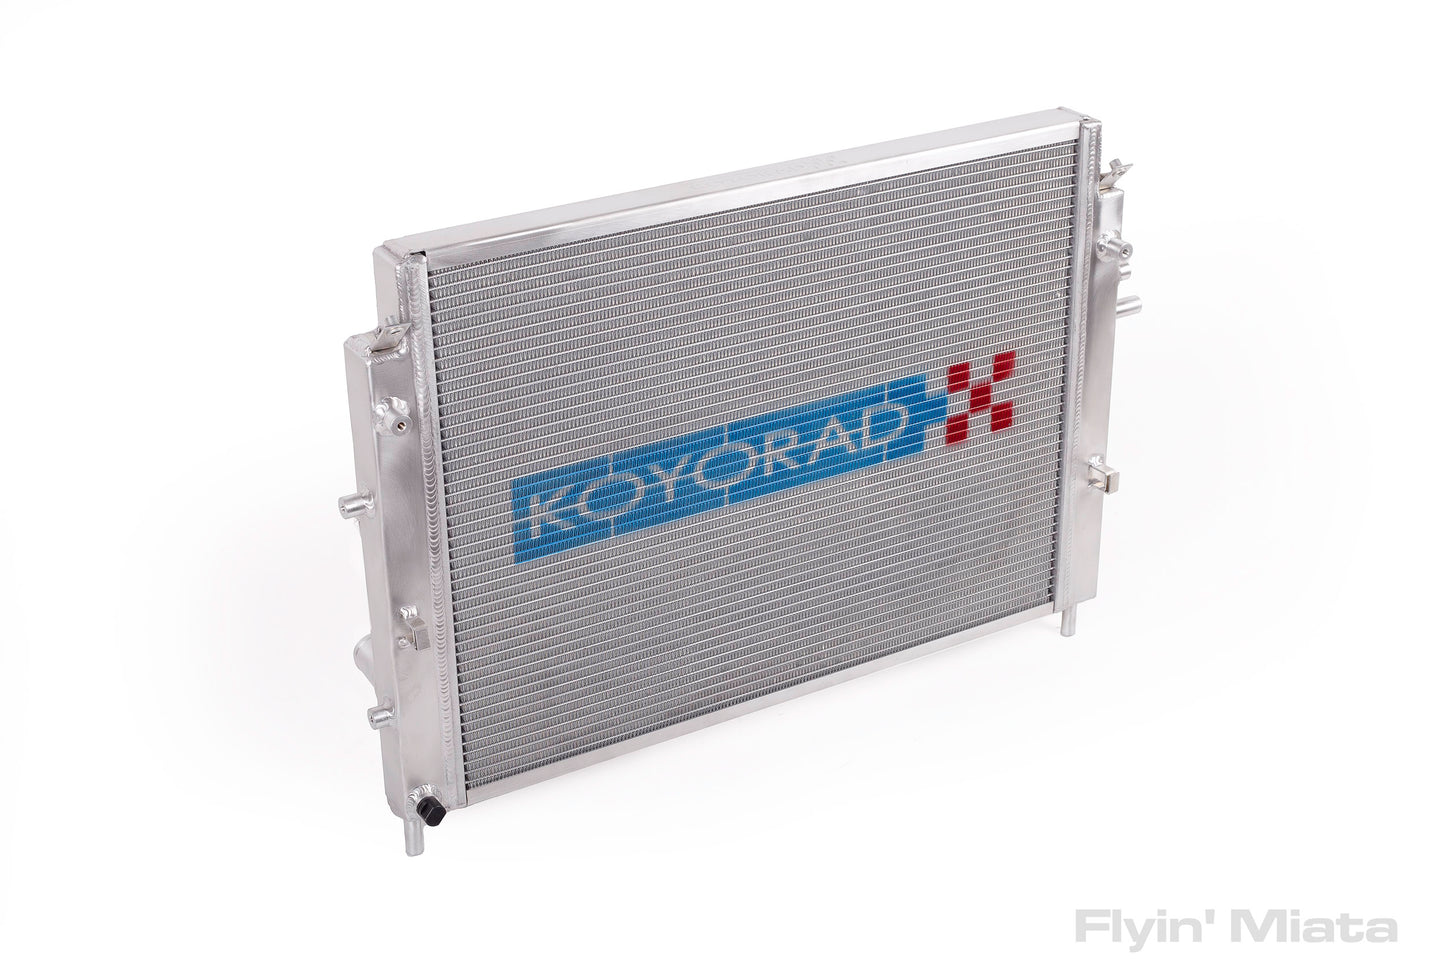
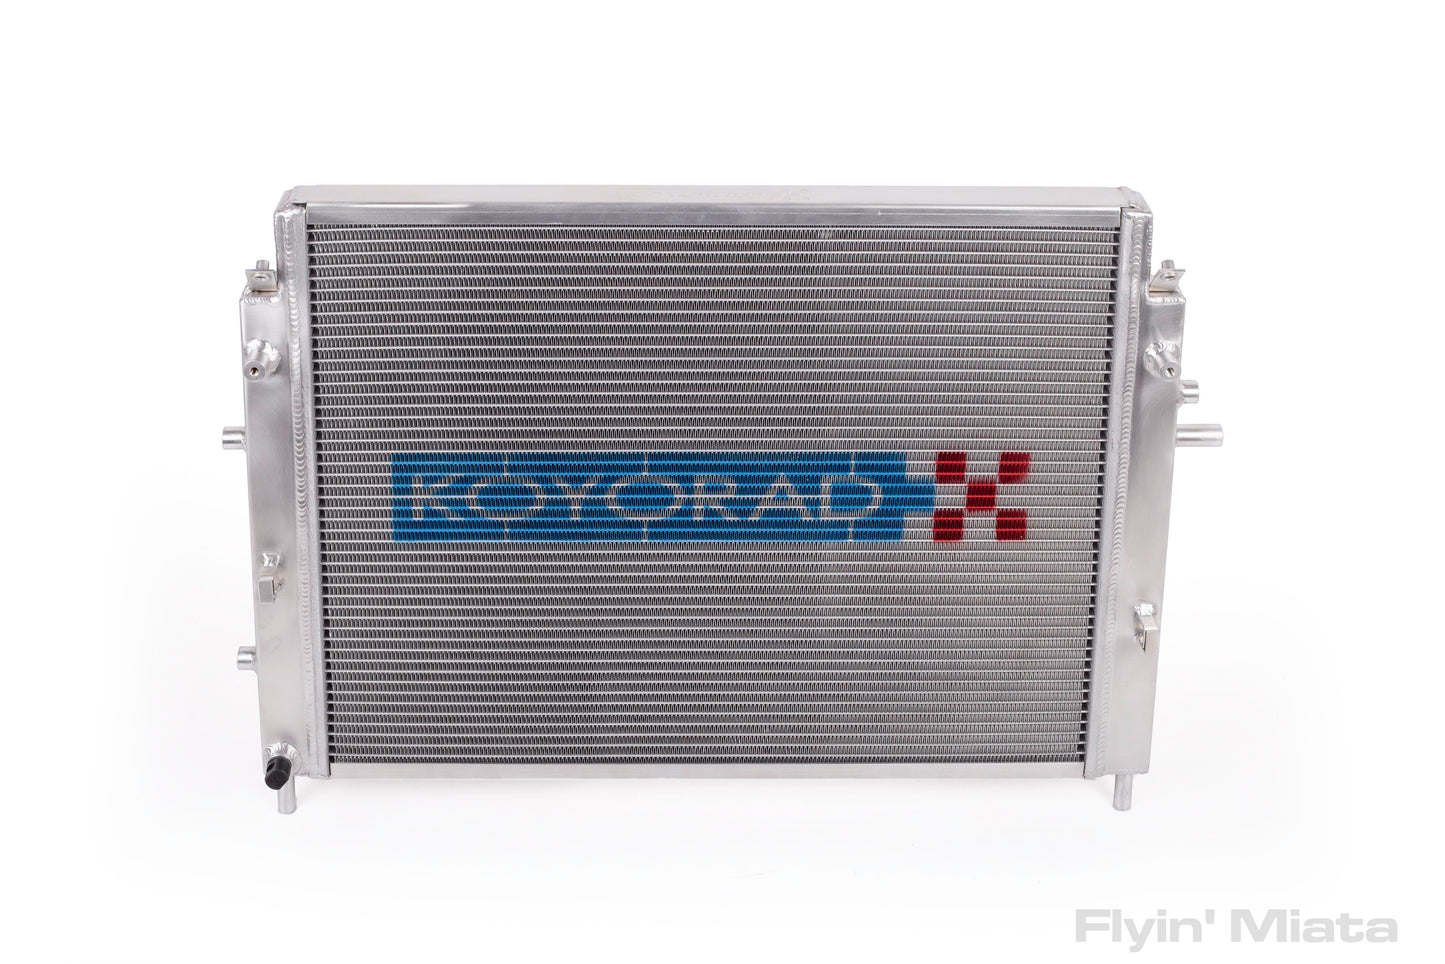
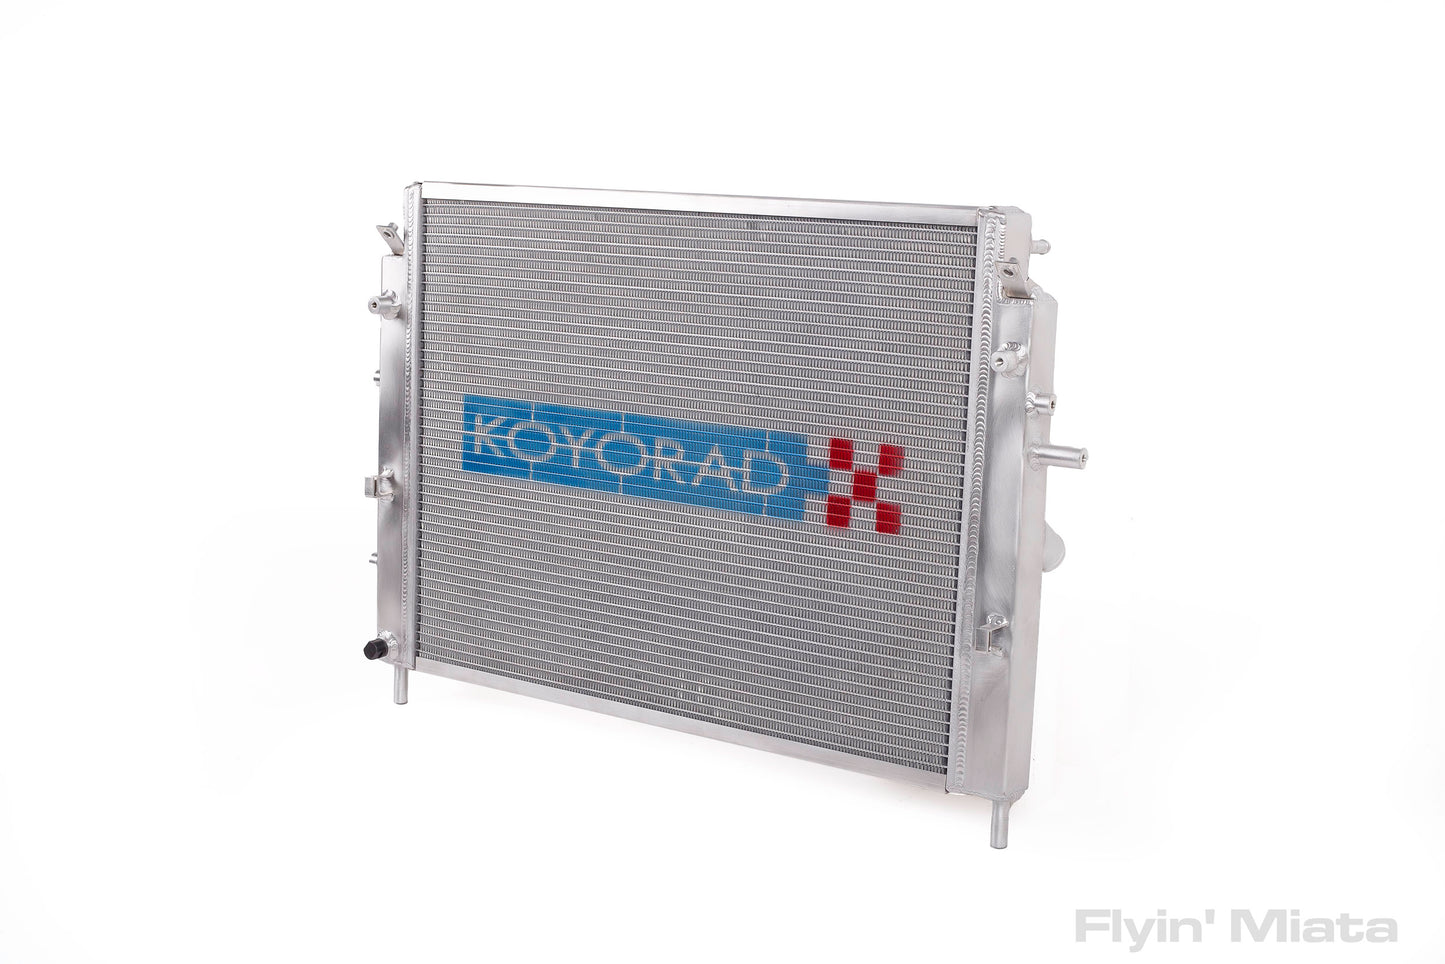
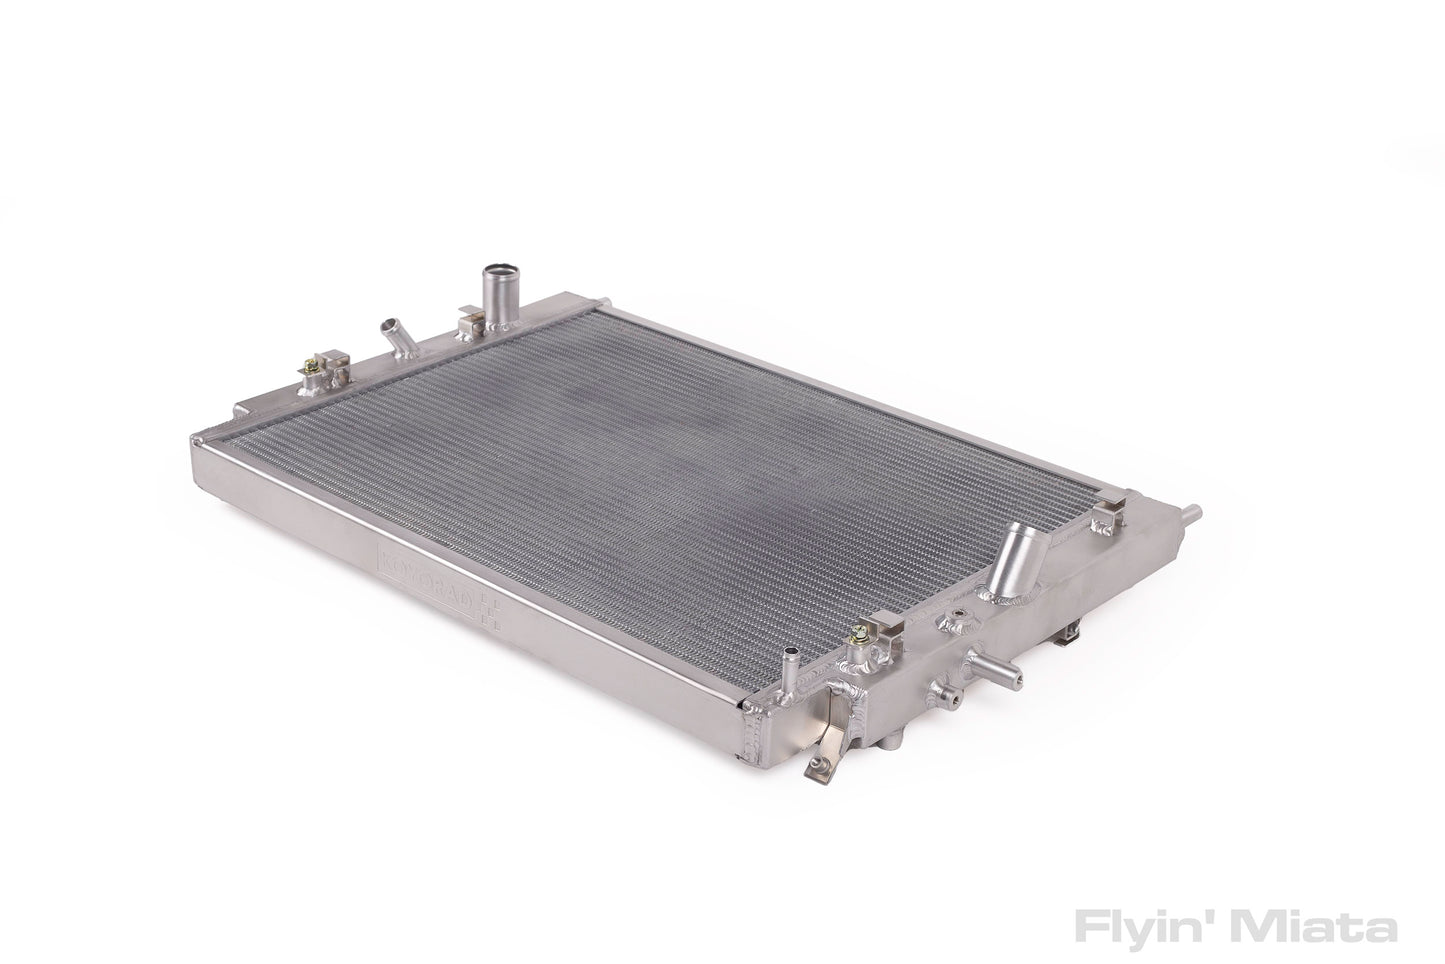
This all-aluminum radiator will increase your cooling capacity over the stock unit. The 32mm high-efficiency core is approximately twice as thick as stock, and it fits into the standard location with no interference with any other components. All the original brackets and mounting points are retained.
Installation is relatively difficult, the radiator is buried deep in the nose. Does not include provisions for cooling automatic transmission fluid, so auto cars will need a separate oil cooler. And unfortunately, the radiator is almost invisible in place so you will not gain any style points.
Instructions
Instructions are not currently available.
Shipping
What does it fit?
Fits: 2006-2015, 2007-2015 PRHT
Emissions
Emissions do not apply.
Warranty
2 years
SKU
I recently picked up a Koyorad for my 2012 NC2 GT and I wanted to share some pointers. This is not a step by step (that is what service manuals are for), but more of some recommended guidelines/best practices. Take head to the product description of “Installation is relatively difficult, the radiator is buried deep in the nose.” This is not a 10min job.
1. If you do not have access to a professional lift and are attempting this with stands, you will need at least two+ feet under the car. Large (6ton) jack stands will provide good stability at that height (be safe). Side Note: This is a great time to install that FM Happy Meal and/or FM Suspension Pkg if you haven’t already done so.
2. If you haven’t replaced your stock expansion tank, I recommended that you do so now. You will be dismantling a significant amount of the front engine bay, and this will be far easier to do during this process. Side note: Good time to upgrade your cap to FM 20PSI.
3. This is also a good time to replace the serpentine belt, idler, and tensioner at this time. You will never have easy access to these items again without significant labor.
4. (Optional) Part of the reason I chose the Koyorad was to prep my ride for the FM NC Turbo kit. The following items aren't mandatory for the turbo nor for installing the radiator; however, they are certainly worth considering if contemplating the turbo upgrade.
4.1 Same as #3 above, but an upgraded GATES #41211 water pump is easiest to do now.
4.2 I picked up a complete HPS silicon hose set. If you are condensering this, this is the time to do it. On the 'easy' side you will be removing the throttle body assembly to gain access to hoses (See bullet #2). There are hoses on the back of the engine that are neigh accessible without an engine pull. However, there are some primary hoses that can be accessed if you pull the tranny (Happy Meal time!)
4.3 For those who might be considering the FM NC Turbo kit, this will be a good time to cut the ECU heat shield panel while it can be “off” the car, as you will be dismantling all the ECU and mounts to gain better access to the radiator install. Don’t forget to rewatch FM install videos, as the pdf/paper documents are shy on cut depths. Same for the notch in the power steering reservoir (although this won't be "off" the car, you will have plenty of access). []
5. Having an extra set of hands when pulling the Koyorad in place will help immensely. As previously stated, the new radiator is double the size in thickness. It does fit, but it is a very tight fit. If attempting this solo, then you will need either long zip ties or some light bailing wire to hold stuff out of the way.
6. About “stuff” in the way. You will need to unbolt darn near every mounting bracket to any hose line, electrical cable/wiring harness, A/C line (including the one up by the expansion tank), power steering reservoir mount, power steering cooling line (in front of the condenser). The MORE you get undone, the easier it will be to pull that chunk of aluminum in. Because I was doing this solo, I found it especially handy to tie the power steering cooler 180* out to the fender, as well as tying the A/C condenser as far ‘in’ to the nose of the car. Side Note: I found using small box end ignition wrenches and/or small sockets to disengage the wire harness clips (pushing on the arrowhead clip to disengage them) to be handy in the confined space
7. Good Advice: Cut a protective cardboard sheet from your delivery box to fit the inside (A/C core facing) of the Koyorad to protect it while you are wrestling with getting it in place. Use Body/Paint tape and make sure you have ‘pull’ tabs (end of the tape folded over so you can grab it) to remove it post install.
8. (Challange) This may be a generational thing with NCs, but the bosses for mounting the air ducts for the battery and ECU cooling ducts were both off for my NC2. The battery was close, but the ECU side was almost an inch off []. The battery side was close enough that I bolted it to the boss and then zip tied the fan side where the plastic rivet would have gone. On the ECU side, I trimmed the plastic that would have been mounted to the boss in a horseshoe/halfmoon shape so it could rest against the boss and maintained the plastic rivet side (this allowed that duct to remain in proper vent alignment. I used wire
9. The drain for the Koyorad is on the opposite side from my stock radiator. I suspect this is like the mounting boss above and may be a generational thing. You will need to use a 2 1/8” hole saw to cut a whole on the Front Under Cover on the opposite side. You might want to add some leading rivets to reinforce the plastic []
BONUS: Your heater will work better than ever has - More top down
May the Zoom-zoom always be with you.
S